Hi all,
I have just made a simple water feature, suitable to give your adventurers and assorted critters lurking around, somewhere to drink, or possibly fight over, the winner can wash off the blood.
Parts list
One or more plastic cards (plain not old credit cards, unless you cover up the lettering first. You can use other basing material if you wanted to cover a larger area, e.g. Foam core.
Clear Nail varnish.
Assorted acrylic or oil paints.
Extruded Foam, for making boulders or rocks.
Flock material, ( A mix of colours).
Optional.
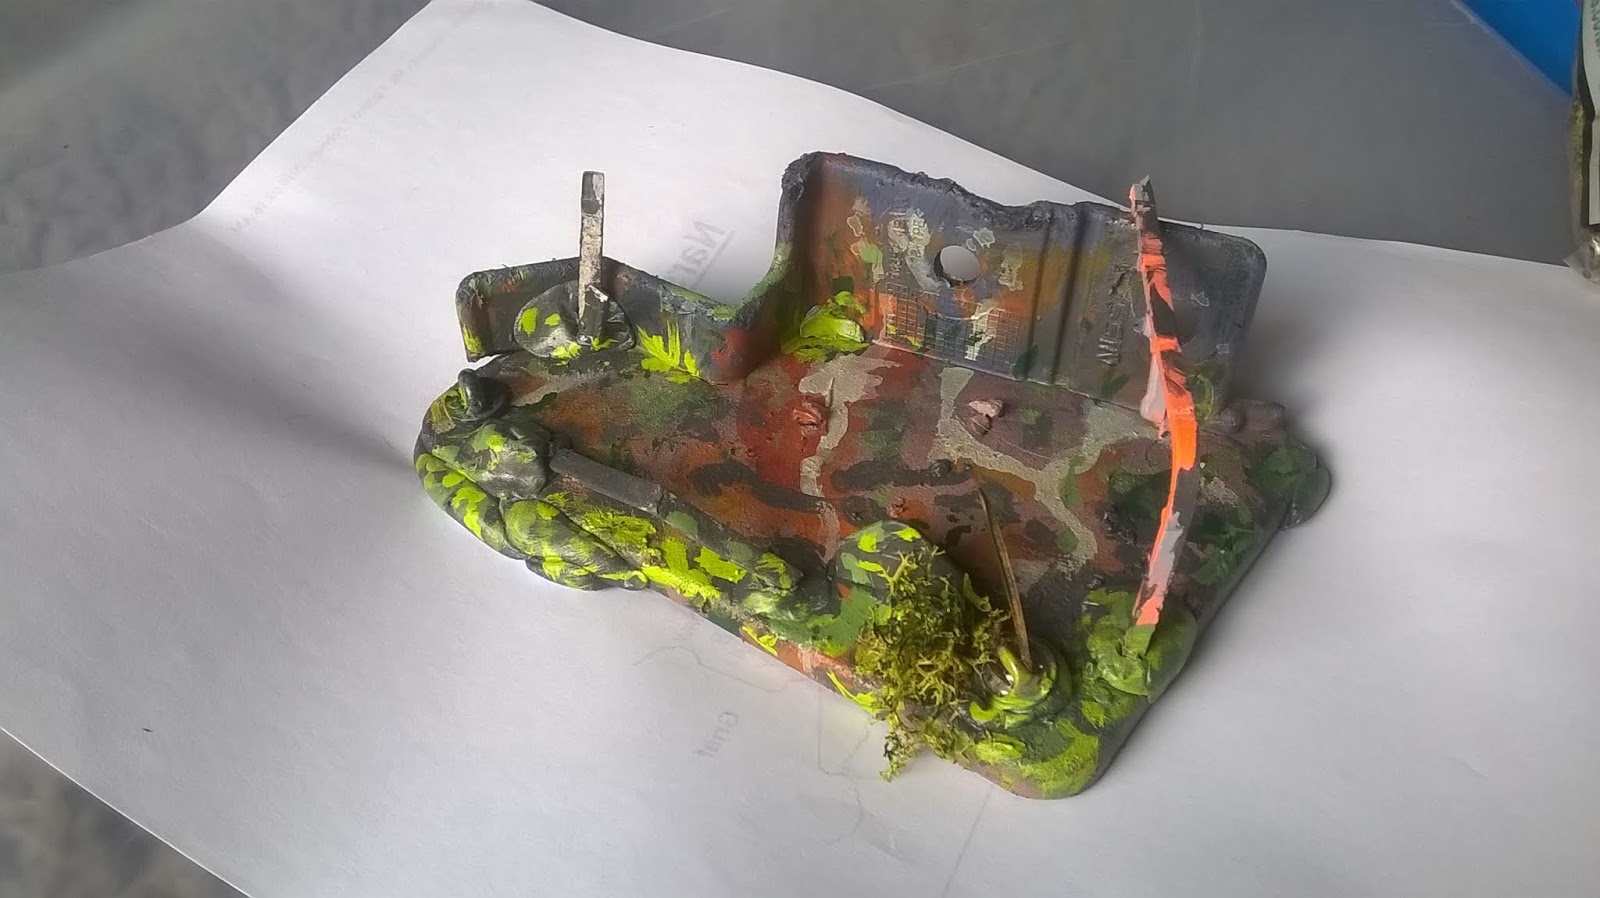
1. Take a plastic card, prime on one side, add a layer of grey or other suitable colour, add a suitable rock shaped from foam etc.
2. Add a smaller rubble pile to form a depression in the ground next to the boulder, use tac or milliput to shape the surrounding area, providing a gentle slope.Bits of card, cut to shape, provide slabs of rocks. Paint the depression with a mid green or orange around the water source.
3. Once you are happy with the paint scheme, pour into the depression nail varnish or other clear sealant. Allow it to overflow the rocks in a natural way. You may have to guide it between the rocks, allowing it to fade at the edge. Allow to dry hard.
 |
| Extra tiles for effect. |
 |
| Close up of water area. |
4. With this picture, I thought it was complete, then I realised that there was something missing, the interaction of the water flowing through the rocks. So, I painted the water white where it was flowing downhill, and splashing in the water below, plus doing a dry brush a bit lower down the flow to indicate remaining froth left over.
(Pool on the left, flowing to the right).
I have added a clump of flock and foliage lower down.
I hope that gives you some ideas.
Regards,
Ivor Cogdell