Tuesday, 28 April 2020

In The Wash

Coming out in the wash

Hi all,
        I mentioned washes in one of my previous posts and thought I would try it out for the first time today. So I grabbed a few models I had been painting on and got experimenting. Some you might recognize from before.I tried a 50 / 50 solution of black paint to water and a really thin solution.

Before


After.


Vault before.


Fountain after.


Vault after wash and added gold rim around inscription on lid.


Much better, don't you think.


With flash.


Some of the pictures are a bit dark, I did them again and updated it.

Ivor Cogdell.


Expanding a barricade pt2

Terrain Tweaking

Hi all,
          This is my second installment of terrain enlargement on here. The first part was designing and building a barricade for a fortified position.This installment is probably what I should have done first, which is to mount it on a base. Better late than never, goes the saying.

Tools

A craft knife.
Acrylic paints, brush and mixing tray.
Base board of your choice.
Sandpaper.
PVA glue.
Optional - Flock, foam core stickers, bits of wall or junk pile.


Prepare your material


 Carefully cut down the edges of your board to the required shape, smooth down with sandpaper all over to give adhesion to the paint. Prime the board if needed. Distress the board now if needed. I added in the lines of the path now, but they did not show up very well. Paint the surface as desired. I mixed the pale green and Terracotta for the dry soil and plain Terracotta for the rest. Acrylic yellow for the path.


Add optional terrain pieces. I placed foam core stickers to add an optional pathway and pier bases to the scene, plus a couple of spare wall pieces. Paint the excess glue once they are dry.
.

Add the main terrain piece.


I adjusted the position of the barricade from the original design so that it can be shut or open, sliding left or right as desired. So I now have a checkpoint or a toll booth for the table.


Shut.

Open.
You could add extra junk around the walls to beef them up, but that could block line of sight and give cover to enemies, your choice.


"Who is in charge ?" That's for you to decide and then fight over.

Have fun terrain building, even if they are little bitty things..

Ivor Cogdell


Monday, 27 April 2020

Mucking about (Updated).

Just mucking about

Hi all,
         I have been watching model painting videos over the last few days, apart from doing some artwork and mucking about in the garden, strimming hedge borders one side and hacking through brambles bindweed and ivy on the other. It is looking better, but I pranged my big toe in the process and could not get to the computer, as I needed to keep the foot elevated. Oh woe was me. I made the best use of time by doing a couple of watercolour pictures in the back garden, which I will post here in due course.

Preliminary Sketch "Tree in next door's garden".


"Over the fence 2" - Copyright (C) Ivor Colin Cogdell 2020.

I'm glad to say that it's on the mend now. The Big Supermarkets are quoting a five day wait for deliveries, so I hobbled down the hill to the local corner shop today, only to find out they were shut. I had mixed a day up in my mind and it was Sunday, not Monday, as I thought. Good job I still had tinned stuff in hand.

My lone can of grey primer seems to have gone astray, so I am stuck with continuing with models I have already coated. I may try giving some existing models a wash, a technique I have not tried as yet, so fingers crossed for that. I will report back on the results.

I have also done a few moon shots.

Mel, The Terrain Tutor and myself at Barrage last year.
I also found this of Mel, who hosts the Vlog "The Terrain Tutor". A great guy, as I'm sure quite a few of you know from watching some of his episodes on youtube. or at theterraintutor.co.uk


Taking a stroll in Sutton Park, Birmingham, UK.
This is one of myself, getting some fresh air in a local park

Hi to all of my club mates and net readers out there. Stay in and stay safe.

Regards all,

Ivor Cogdell

Thursday, 16 April 2020

Expanding a barricade.pt1

Terrain Tutorial


Hi everybody,
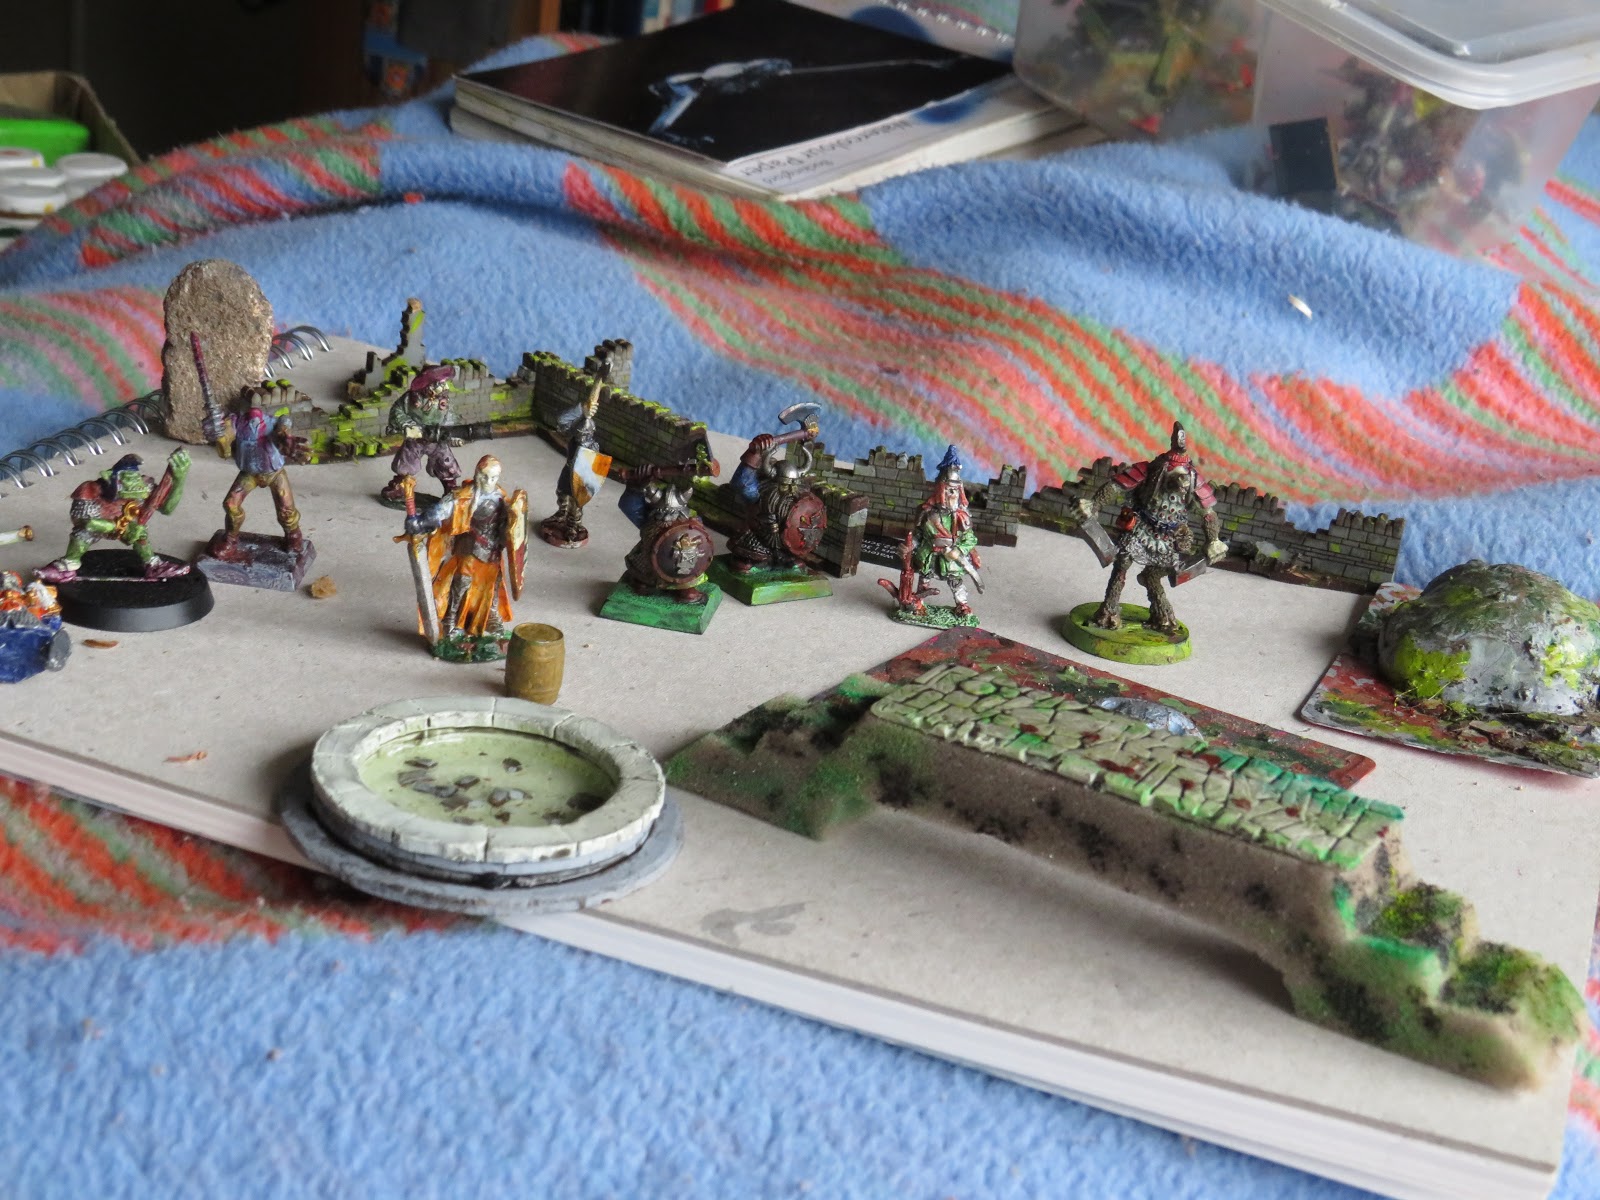
                    Picture this, we are all on jankers duty and restricted to barracks, you have run out of coal to paint white (you hope), the Sgt. Major is ordering more rations and PT kits from HQ for a bit and you are thinking "What can I do now?".
                   Well, I may have the solution for you today, embellish one of your old bits of terrain. In this case, I have a rough barricade made from a scrap bit of plastic that I had to hand. Couple that with a few carved up lolly sticks and scrap bits from laser cut models (optional), then we will see what we can make. I am using PVA wood glue here, but if you have a glue gun that should work too. This can work for a variety of model eras, from fantasy to bolt action and wild west. This is also a good tutorial if you have some new recruits with you, as no blades are needed..

Pick your terrain piece


Barricade painted in dark blue and green, smaller part on right plus odd shape to fix to small part.
First part to be fitted to the barricade,

Now fitted in place with circular gap to shoot through.
Now in place.

Lolly stick to go on next.

The lolly stick has been carved on the edges with a craft knife to distress the wood and remove the straight edges. It goes along the piece in a roughly 30 degree angle to the right, attaching to the piece sticking out on the right.

The lolly stick in place.This has doubled the available attachment room on the right hand side.
Now in place.

View from the rear, extending outwards about two inches to the right, one inch off the floor.
Rear view.
 Now for the other side. The two square holes in the side wall planking do not give much cover to those inside,so with two more small bits of lollies broken along their length, I will convert the hole nearest to the corner to a mere slit to peer out of and leave the other one to shoot out of.

Outside right section with cut lollies shown ready.
Before fitting.

After fitting 2 boards on right plus 2 boards in a half diamond shape on the left.

I have added extra planking to reduce the target area on the left while still having a reasonable arc of fire and viewpoint.

Back to the left section of the barricade. I added a small wooden bar to the middle of the circular opening to prevent potential entry.
A bar runs down the 1 cm opening.
The bar in place

An Elf fires an arrow through the right wall.


An elf archer firing through the round opening.

A close up of the Elf archer at the ready.
The Archer in action.


The right hand shutters from the inside.
Inside showing shutter details.
 The central panel has had its face distressed, showing Dwarf axe blows and arrow dents.

The central panel has assorted chop marks, nicks and dents
Before painting.
 I now add whites and browns to the central area to blend it in more with the rest of the model.

Painting time.


Painted with off white and a medium brown assorted lines and old blood splatters.
After rough splashes of paint.

A close up of the right hand side shutters now painted white and brown splodges.

Central and right corner now painted.
Added grunge.
More additions were made to the left edge of the barricade forming extra support for the plank sticking out, this has the benefit of attackers having to travel further round the hazard, giving the defenders more opportunities to shoot at them, or throw rocks if they are out of ammo.

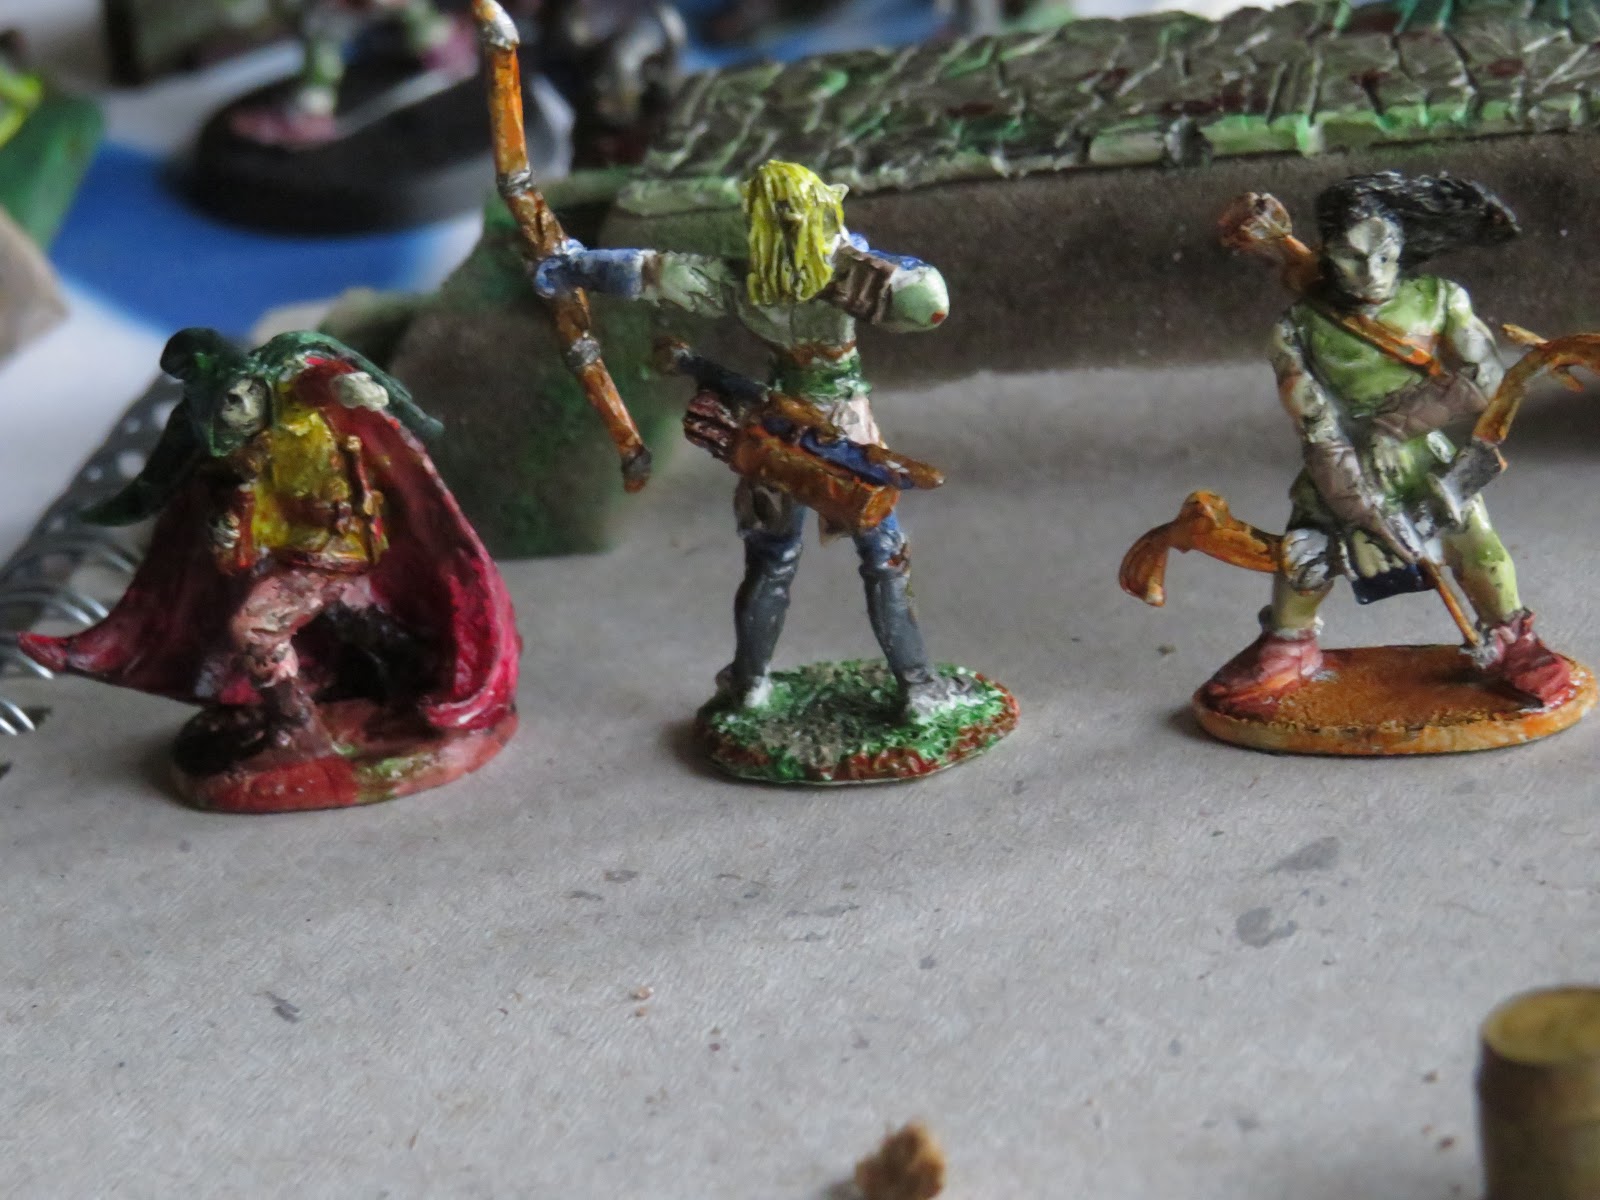
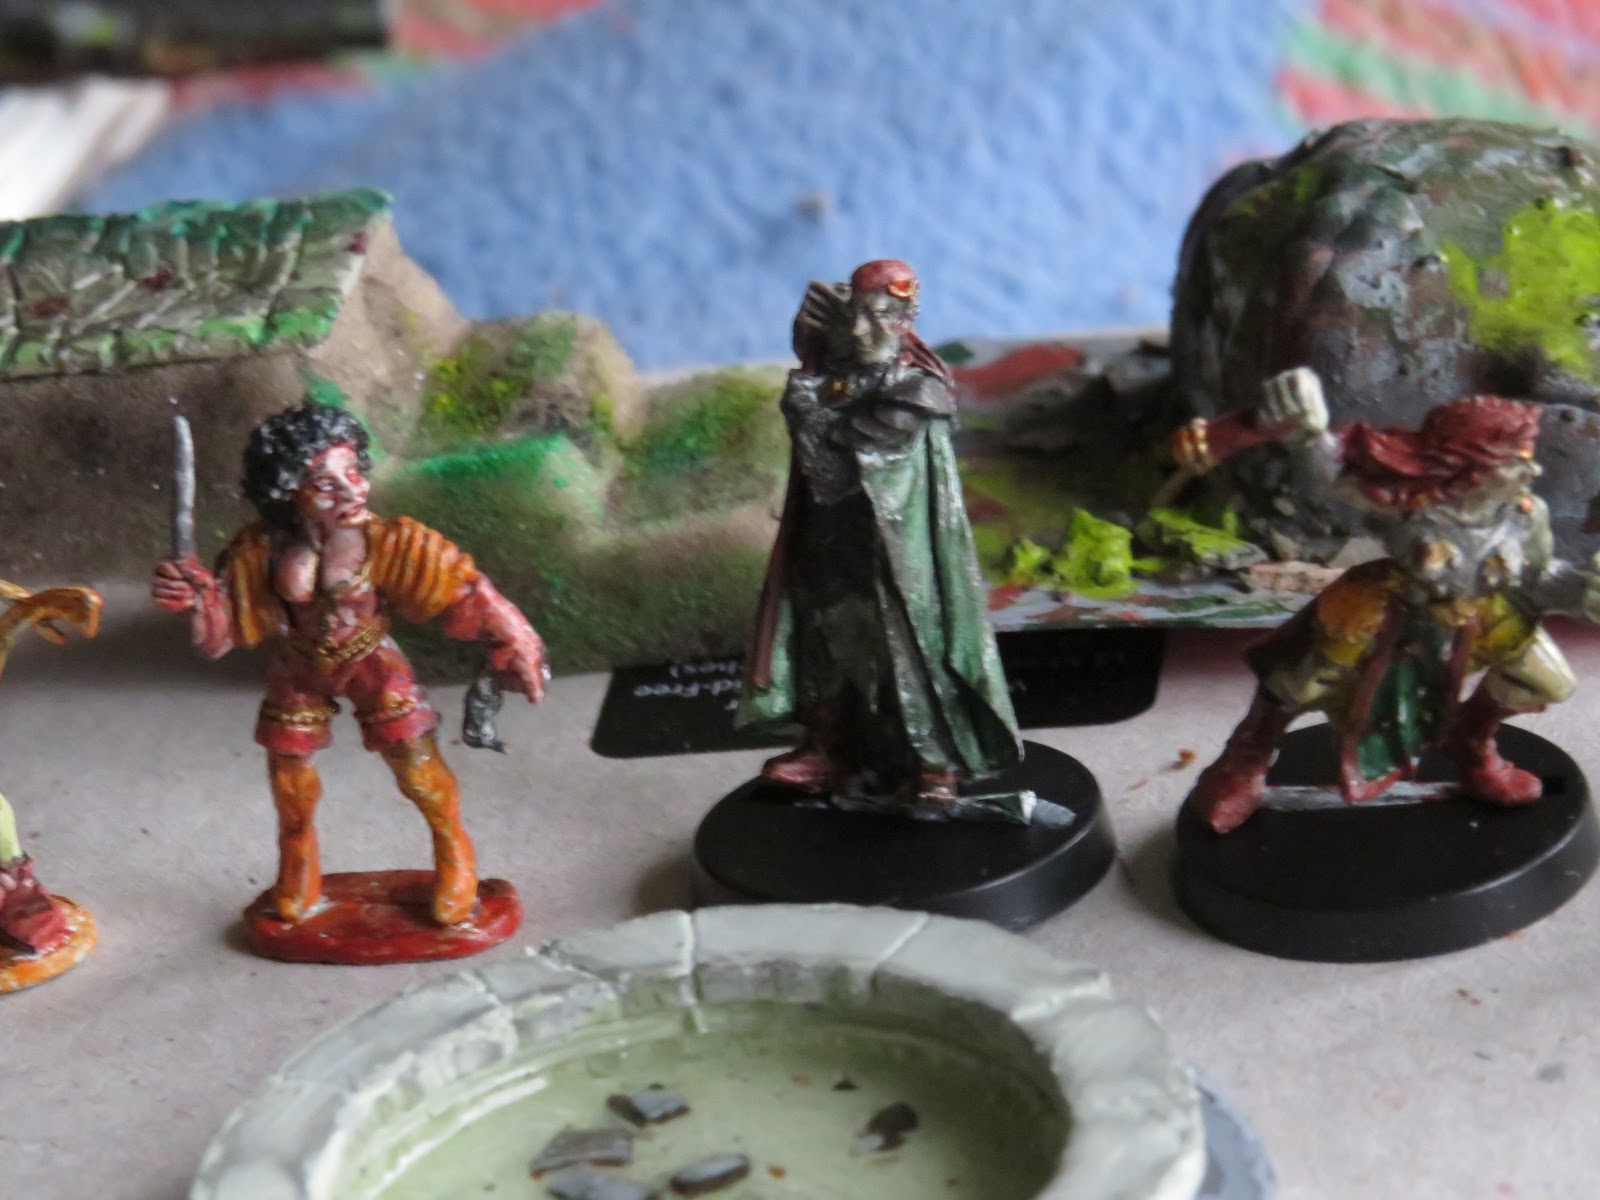
Here we see our lone Elf defender against two Lizard Folk..

An elf defends against two Lizard men coming from the left.
"Time to even the odds".

A view from inside looking out.

Close up of the supporting struts on the left position, similar to a capital A.
A close up of the supporting struts.

Similar view, but the Elf fires through the circular window.
"An easy target".
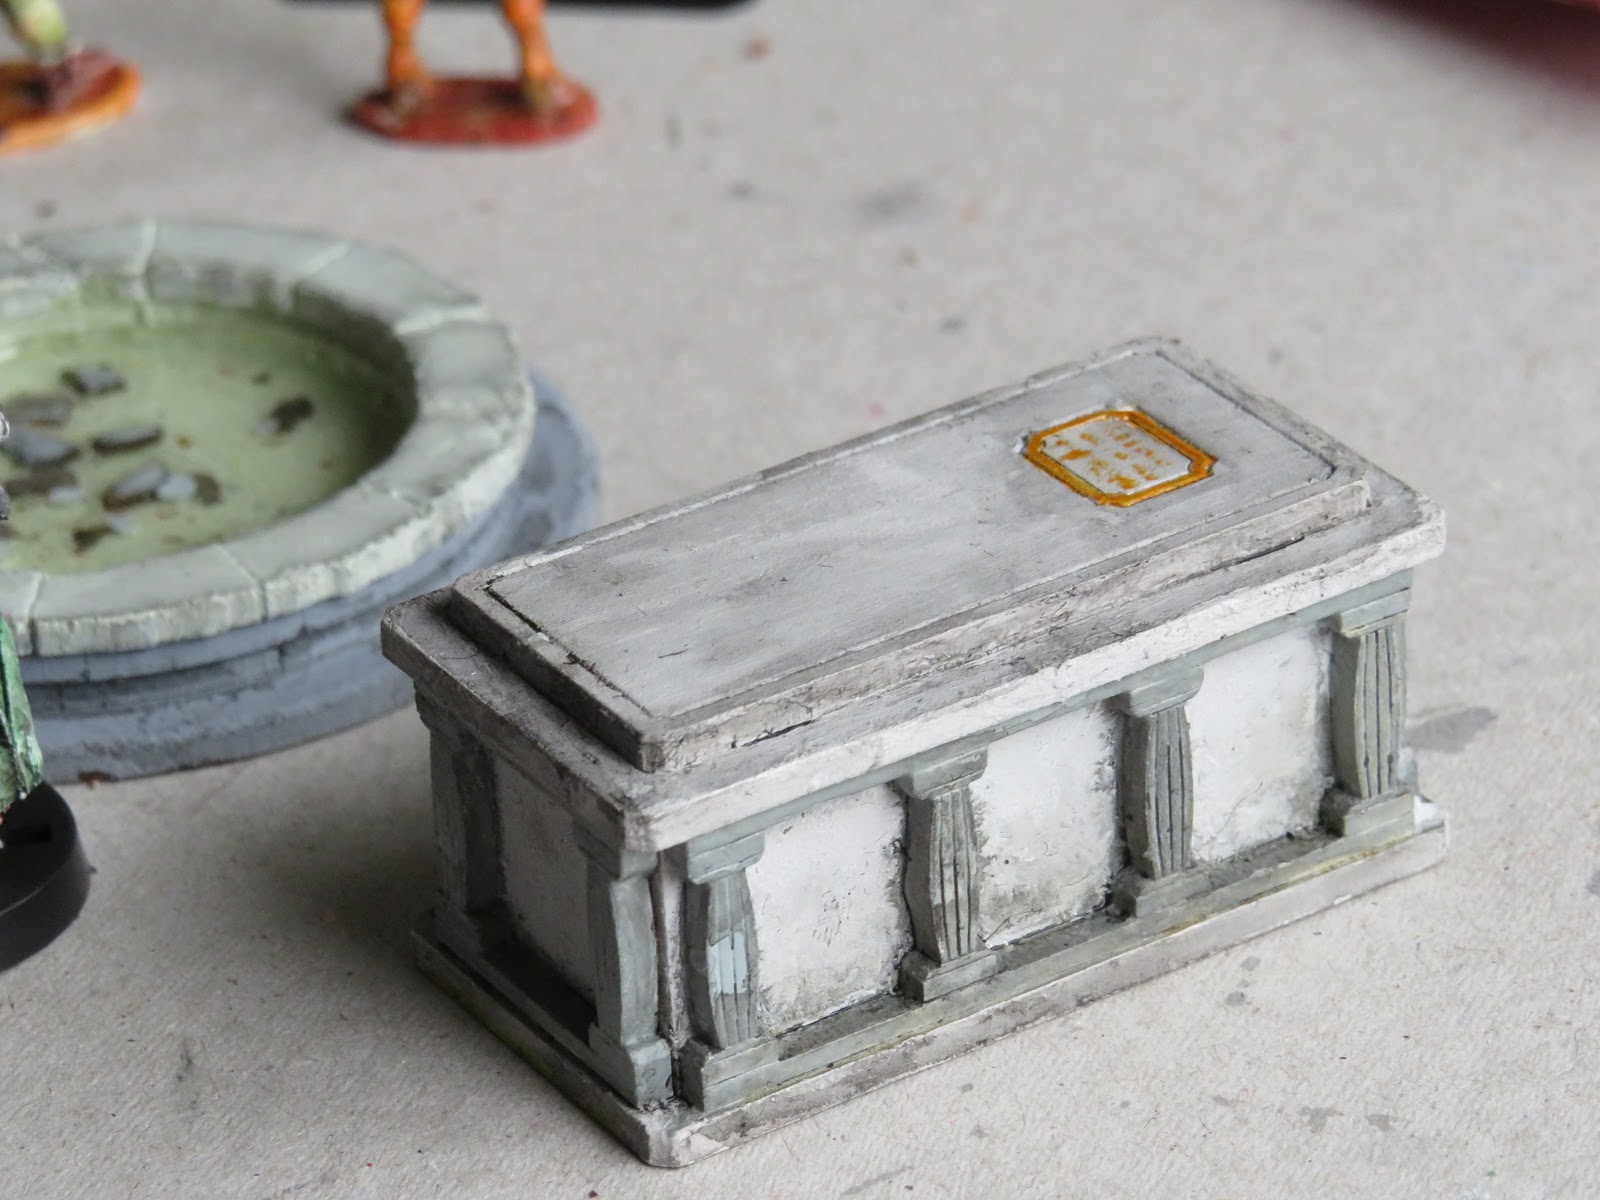
Not up to professional standards, I was "winging it" as I went along, but sometimes that is all that is needed to put a bit of terrain on the gaming table.  I hope that gave you some inspiration to spruce up a model or even do a scratch build with some leftover materials, such as making rocks with foam core and filler, adding a standard to a wooden meat skewer. I add a base to the model in part two.  You may even have chance for a quick game before the Sgt. Major comes back. I hope so.

Stay safe everybody.

Ivor Cogdell

P.S. No Lizardmen were harmed in the making of this diorama.